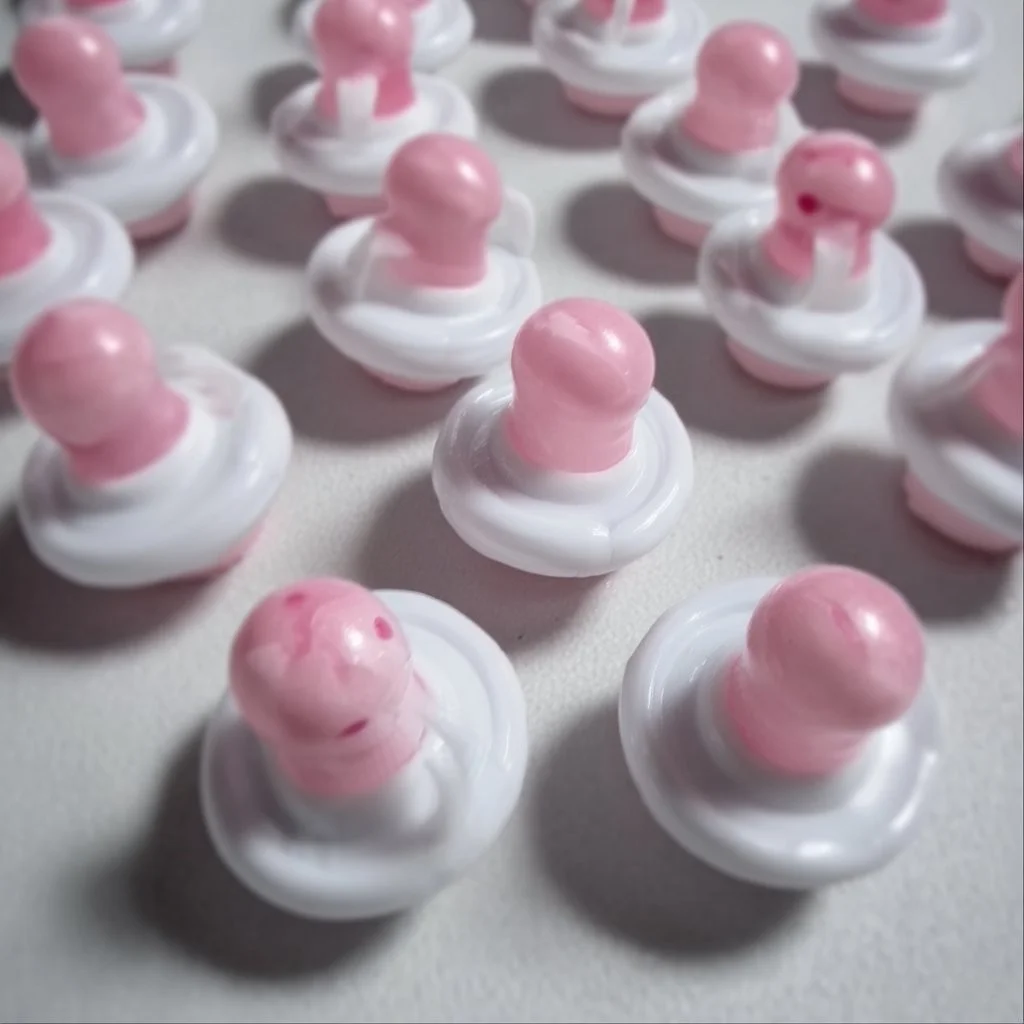
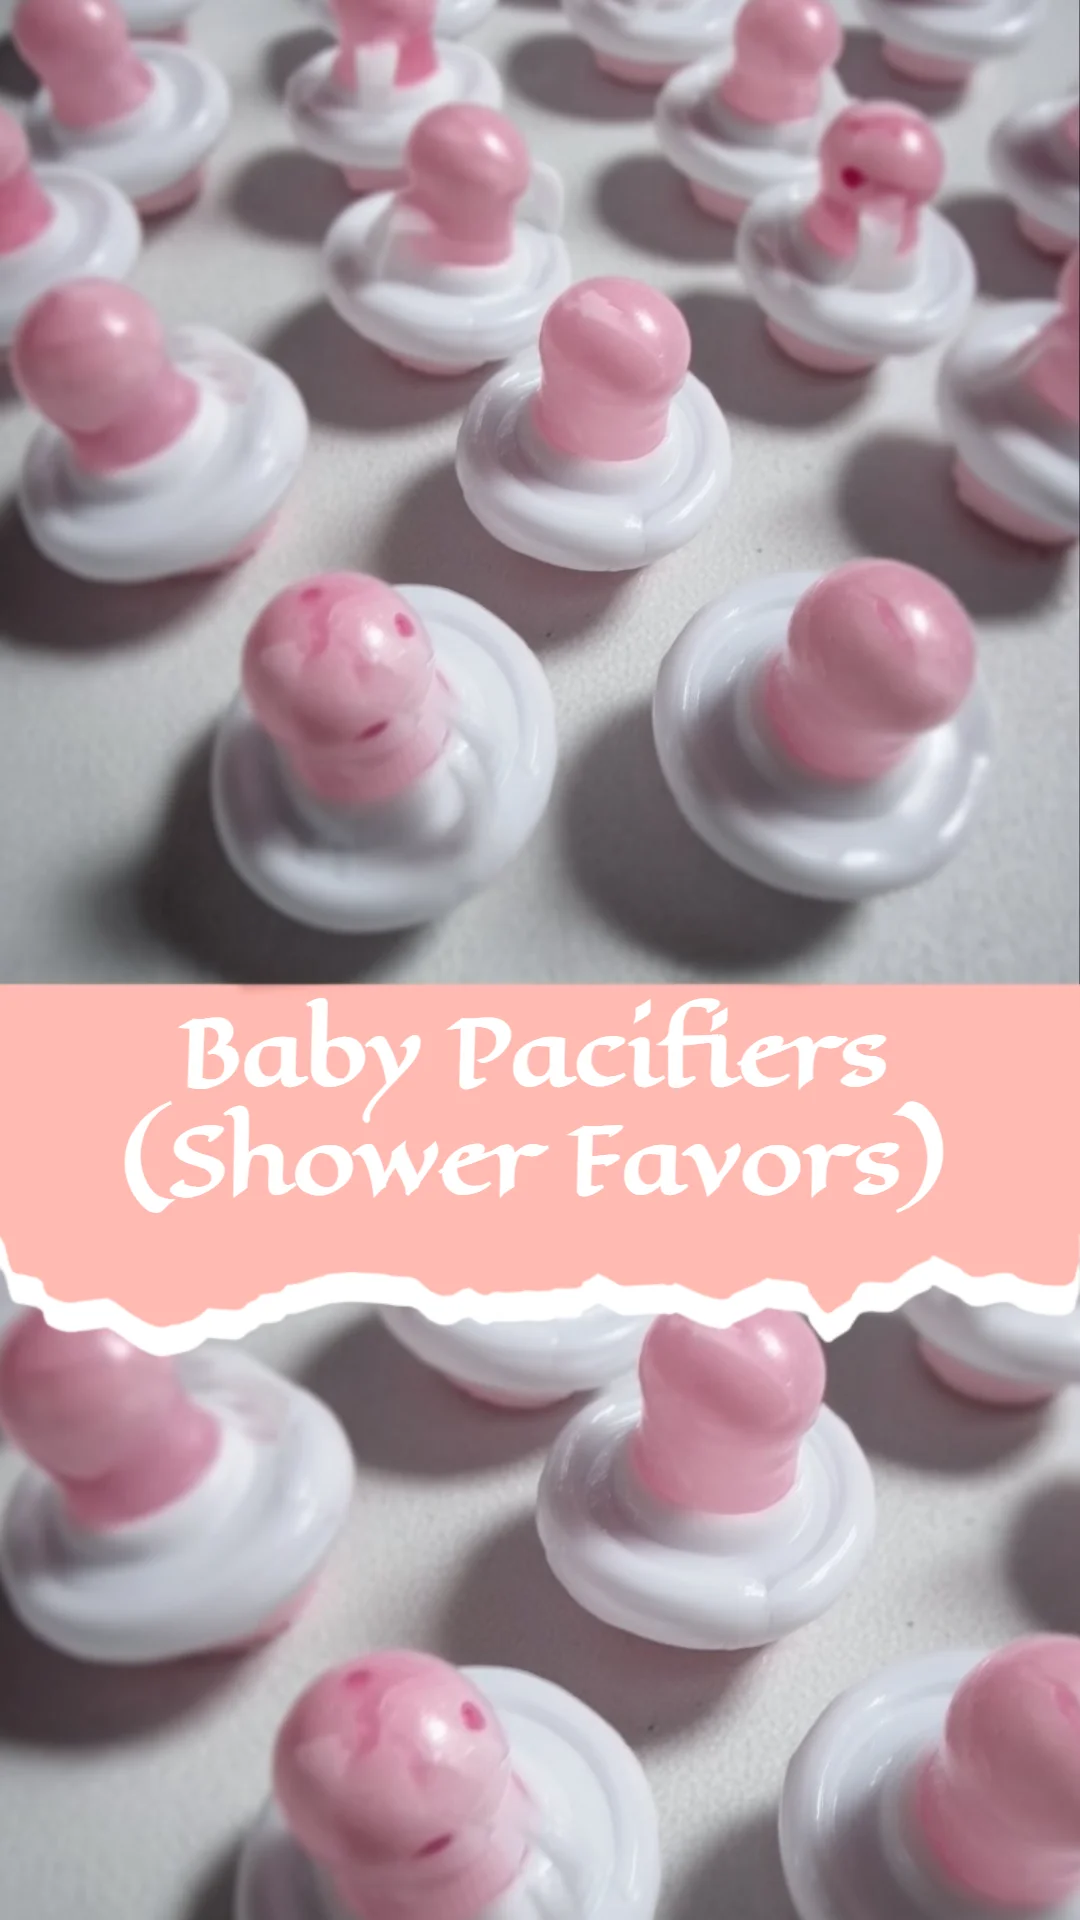
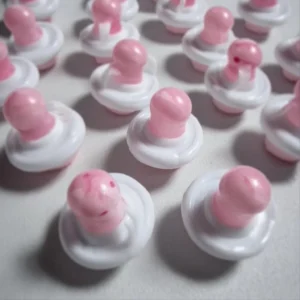
Baby Pacifiers (Shower Favors)
A last-minute guest RSVP? A table that still needs favors? I get that hosting a baby shower can feel like a hundred tiny tasks at once — limited time, a long guest list, and a worry that presentation will fall short. I promise this Baby Pacifiers (Shower Favors) recipe is fast, unfussy, and perfect for stacking on a table or tucking into take-home bags. It’s a small detail that looks thoughtful without adding stress.
A Quick Look at This Baby Pacifiers (Shower Favors) Recipe
This Baby Pacifiers idea uses familiar candy — Lifesavers and jelly beans — with a dab of white cake icing to hold pieces together. Guests usually love the sweet, nostalgic combo and the tiny, giftable look. The favors are make-ahead friendly and require almost no cleanup, making them ideal when time is tight. They’re perfect for baby showers because they match pastel themes, are easy to display, and kids and adults both enjoy them. You’ll be surprised how quickly you can assemble a tray that looks polished and party-ready.
Ingredients You’ll Need for Baby Pacifiers (Shower Favors)
Essentials
- 2 (13-ounce) bags of white individually wrapped Lifesavers candies (or the white-flavored equivalent)
- 2 dozen jelly belly jelly beans (or similar small jelly beans)
- 6-ounce tube white cake icing (ready-to-use tube)
- 24 lengths of thin curling ribbon (about 10–12 inches each), in colors that match your shower theme
Optional Add-ons
- Small cellophane treat bags or organza bags for individual wrapping (easy to hand out)
- Mini tags or sticker labels to add the baby’s name or event date
- Coordinating tissue paper or shredded paper for a display tray or favor box
- Edible glitter or pearlescent dust (lightly dust the Lifesaver edges after assembly for a subtle shimmer)
- Pastel-colored jelly beans or flavor-themed jelly beans (if you want color matching)
- Mini tongs or small scoops to help guests pick favors from a tray (keeps it tidy)
Substitutions and Shortcuts
- Use pre-cut curling ribbon from a craft store if you want perfectly matched lengths without measuring.
- Swap jelly belly jelly beans for other small, firm candies (e.g., chocolate-covered sunflower seeds, small gumdrops) if you want different textures or flavors.
- If you’re short on time, skip individual bags and place the finished favors in small paper cupcake liners for an easy buffet display.
- Buy pre-made edible adhesive dots or edible glue instead of cake icing for a cleaner look and faster bonding.
- Use a piping bag with a small round tip to apply icing more quickly and neatly, or use the tube icing directly for the simplest option.
Ingredient alternatives for allergies or availability
If any guests have allergies or you’re concerned about availability, here are safe, simple swaps and notes about hidden gluten:
- For nut allergies: This recipe uses no nuts, but check all candy packaging to ensure no cross-contamination with tree nuts or peanuts.
- Vegan option: Use vegan-friendly hard candies and jelly beans, and swap white cake icing for a vegan icing or edible glue. Read labels carefully — many conventional jelly beans contain gelatin or confectioner’s glaze.
- Gluten concerns: Lifesavers and most jelly beans are typically gluten-free, but always check the package for a gluten-free label or allergen statement. Avoid any brand that lists wheat, barley, rye, or “may contain” statements for gluten.
- Dairy-free: Most standard Lifesavers and jelly beans are dairy-free, but confirm the icing tube is dairy-free or use a dairy-free icing alternative.
- Gelatin-free: If avoiding gelatin, choose jelly beans that are labeled gelatin-free. Some popular brands use gelatin; others use pectin or starch.
- Sugar-free options: If you need sugar-free favors, look for sugar-free hard candies and sugar-free jelly beans; be mindful that sugar-free candies can have a different texture and a cooling aftertaste.
- Hidden ingredients: Watch for confectioner’s glaze (shellac) and carmine (cochineal) in jelly beans if you need vegetarian or vegan compliance. Labels will list these ingredients.
I recommend buying one extra bag of Lifesavers and a few extra jelly beans to account for imperfect pieces or breakage during assembly. That keeps the process calm and no-last-minute runs to the store.
How to Make Baby Pacifiers Step-by-Step
I’ll keep these steps short and practical so you can assemble quickly and with confidence. Perfection isn’t necessary — these favors are charming because they look handmade.
- Unwrap and sort
- Unwrap all Lifesavers and place them flat on a clean tray or paper towel.
- Group white Lifesavers in pairs and set jelly beans nearby for quick access.
- Prep your workspace
- Lay down a nonstick mat or parchment paper so the finished pacifiers won’t stick.
- Keep the tube of white cake icing within reach and cut the tip if needed for a thin stream.
- Make the first attachment
- Pick one Lifesaver and apply a thin ring of icing around its inner hole. Less is better than more — you want a secure hold without messy squeeze-out.
- Press one jelly bean into the icing so a short, round end is seated in the hole and the length of the jelly bean points outward like a pacifier nipple.
- Attach the second Lifesaver
- Flip the first Lifesaver with the jelly bean so you’re looking at the back (the side opposite the jelly bean).
- Apply a slightly thicker (but still moderate) ring of icing around the inner hole of the first Lifesaver.
- Place a second Lifesaver perpendicular to the first, tapping its edge into the icing in the center so it forms the “handle” of the pacifier.
- Dry flat
- Set the assembled pacifier flat on your parchment-lined tray so both Lifesavers sit flush and the jelly bean sticks out.
- Repeat until you’ve made all favors.
- Let them dry for 3–4 hours at room temperature, undisturbed. The icing needs time to set properly.
- Add the ribbon
- Once the icing is firm, thread a length of curling ribbon through the hole of the second Lifesaver (the handle).
- Tie a simple knot or bow, trim ends, and curl with scissors if desired.
- If using gift bags, place one pacifier per bag with a small tag. Otherwise, arrange on a tray with cupcake liners.
Make-ahead tip: I like to assemble a full day ahead. Store finished favors in a single layer in an airtight container at room temperature. Avoid stacking until fully dry to prevent shifting.
Speed tip: Work assembly-line style — do all first attachments, then all second attachments, then all ribbons. That rhythm cuts time and keeps the work simple.
Common Mistakes to Avoid
Take a deep breath — the goal is calm progress, not perfect little sculptures. Avoiding a few common missteps will save time and make setup easier.
Mistake 1: Using too much icing
Too much icing squeezes out and makes a sticky mess. Use a thin layer for the first Lifesaver and a slightly thicker ring for the second, but don’t glob it on.
Mistake 2: Rushing the drying time
Skipping the full 3–4 hour dry time can cause favors to come apart. Plan drying into your timeline or assemble the day before so they’re firm when you handle them.
Mistake 3: Overcomplicating the display
Trying to create an elaborate display the day of the shower adds stress. Use cupcake liners or a simple tiered tray — minimal fuss, big impact.
Serving Suggestions for Baby Pacifiers
These favors are intended to be finger-food friendly and low-maintenance. Keep serving simple so you stay relaxed.
Buffet-friendly presentation
Arrange Baby Pacifiers on a shallow tray lined with tissue paper or cupcake liners. Group them by color or ribbon style so the display looks intentional but remains easy to refill.
Individual wrap or bag
Place one pacifier in a small cellophane bag with a twist tie or a tiny sticker seal. Guests can grab one as they leave; it’s tidy and saves table space.
Easy refills and minimal mess
Keep a spare batch boxed up nearby and refill the tray between courses. Use small tongs so guests don’t touch the entire pile while selecting theirs.
Conclusion
I know how small details can add up when you’re planning a shower. These Baby Pacifiers save time, look charming, and are a fuss-free way to give guests a sweet keepsake. If you want ready-made pacifier favors or inspiration for supplies, I often check easy sources like Baby Shower Pacifier – Walmart for ideas and quick buys. Use this recipe to relax the favor portion of your planning and focus on the celebration.
FAQs About Baby Pacifiers
I recommend making them 1 day ahead. After drying 3–4 hours, store in a single layer in an airtight container at room temperature. They’ll stay fresh and ready.
With two 13-ounce bags of Lifesavers and two dozen jelly beans, expect roughly 24 favors. I always plan a few extras for unexpected guests.
Yes. I suggest placing each pacifier in a cupcake liner or small bag on the buffet so guests can grab one without touching others.
Leftovers keep best in a single layer in an airtight container at room temperature. Avoid refrigeration, which can cause sticky condensation.
These favors are candy-based and not appropriate for very young children due to choking risk. I include a small note if kids will attend and recommend supervising any child who takes one.
Baby Pacifiers
Ingredients
Essentials
- 2 bags (13-ounce) white individually wrapped Lifesavers candies or the white-flavored equivalent
- 2 dozen jelly belly jelly beans or similar small jelly beans
- 1 tube (6-ounce) white cake icing ready-to-use tube
- 24 lengths thin curling ribbon about 10–12 inches each, in colors that match your shower theme
Optional Add-ons
- Small cellophane treat bags or organza bags for individual wrapping
- Mini tags or sticker labels to add the baby’s name or event date
- Coordinating tissue paper or shredded paper for a display tray or favor box
- Edible glitter or pearlescent dust lightly dust the Lifesaver edges after assembly for a subtle shimmer
- Pastel-colored or flavor-themed jelly beans if you want color matching
- Mini tongs or small scoops to help guests pick favors from a tray
Instructions
Assembling the Favors
- Unwrap all Lifesavers and place them flat on a clean tray or paper towel.
- Group white Lifesavers in pairs and set jelly beans nearby for quick access.
- Lay down a nonstick mat or parchment paper so the finished pacifiers won’t stick.
- Keep the tube of white cake icing within reach and cut the tip if needed for a thin stream.
- Pick one Lifesaver and apply a thin ring of icing around its inner hole, then press one jelly bean into the icing.
- Flip the Lifesaver and apply a slightly thicker ring of icing around its inner hole again, then place a second Lifesaver perpendicular to the first.
- Set the assembled pacifier flat on your tray and repeat until all favors are made.
- Let them dry for 3–4 hours at room temperature undisturbed.
- Once the icing is firm, thread a length of curling ribbon through the hole of the second Lifesaver and tie a knot or bow.
- Place the finished favors in small bags or arrange them on a tray.